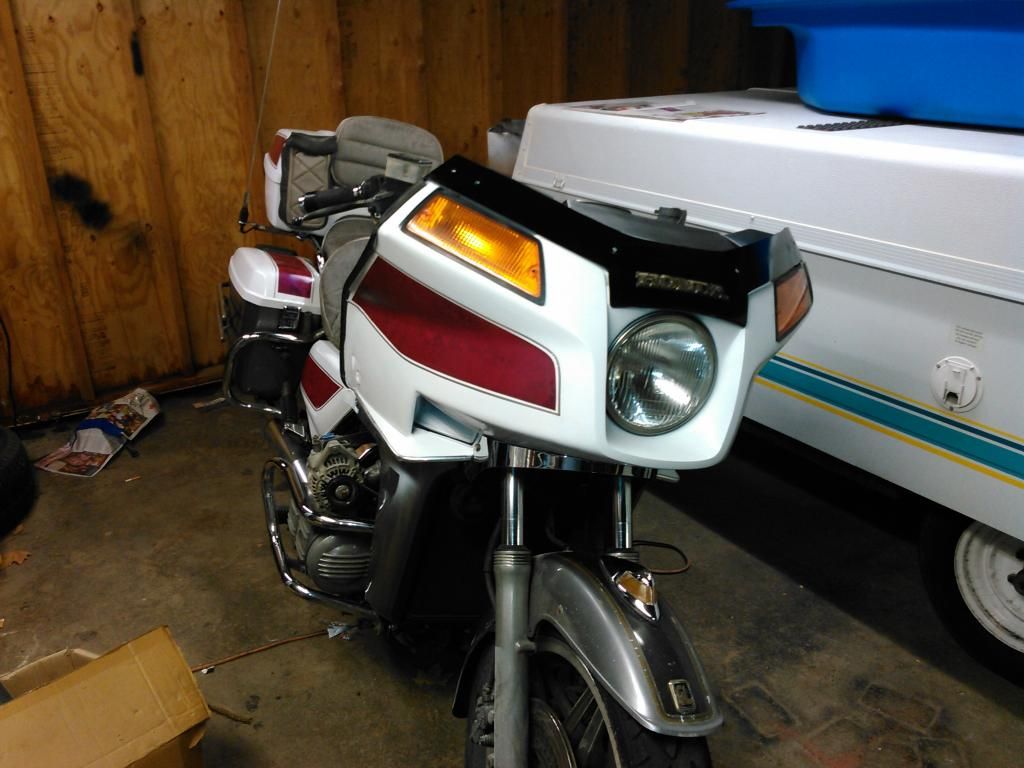
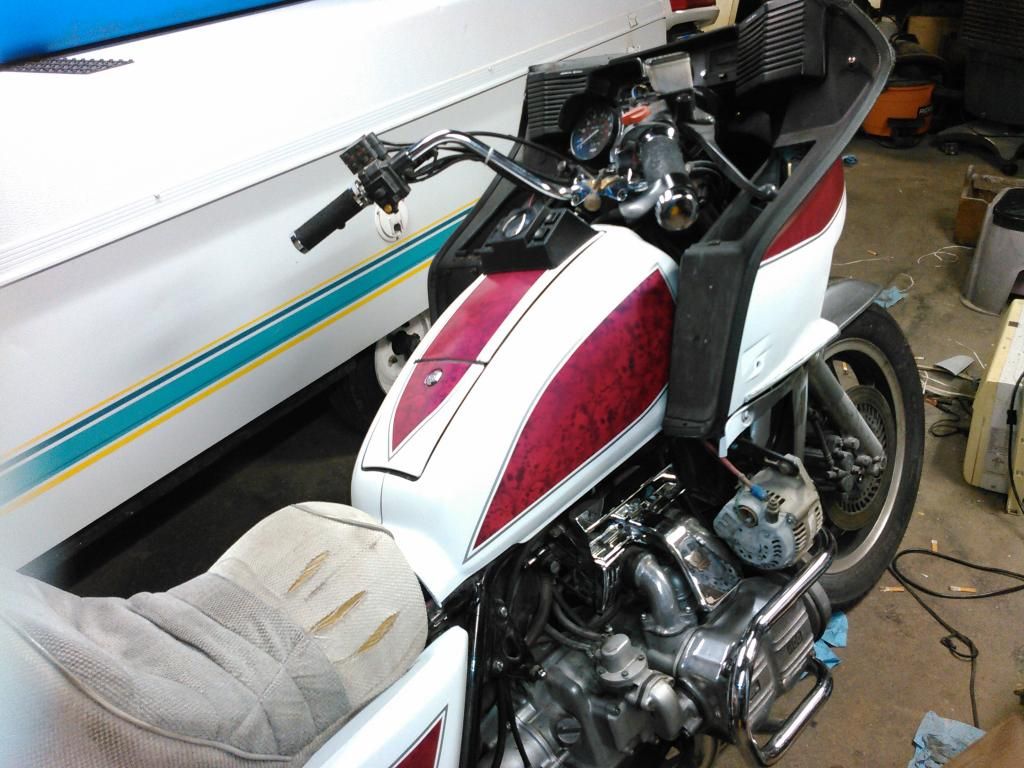
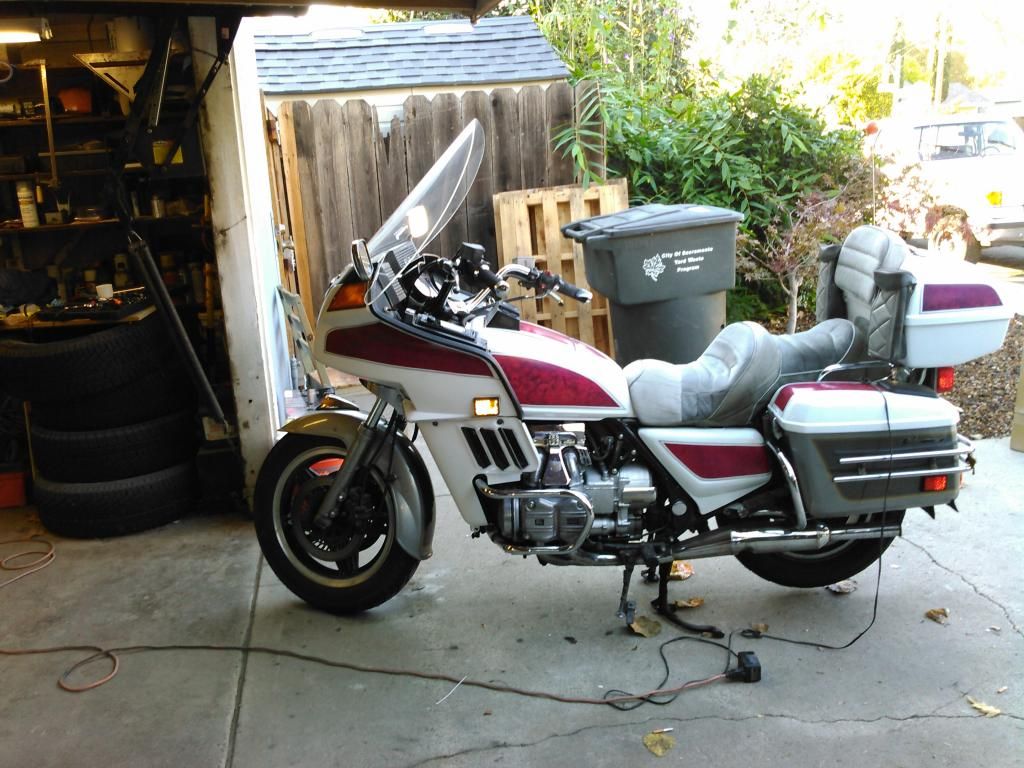
82 goldwing, $500, paint, $100, my smile, priceless....
by: urbanmadness - Oct 19, 2014 0:14:41 GMT -5
Post by urbanmadness on Oct 19, 2014 0:14:41 GMT -5
I know it's not a scooter. But most of, if not all, will apply to those who wish to paint/air brush a scooter.
First let me say, I use a lot of rattle cans and you can get some pretty decent results, if you practice. My favorite is Rustoluem, Acrylic Lacquer. It has a wide range of colors, (as long as you want black or white) and a really decent clear. I actually haven't tried the black Rustoum lacquer, but I have used their oil based enamel black, and it has a brown tint to it, kind of like a Hershey bar if the light hits it just right. Not always desirable, so I pretty much just use the white.
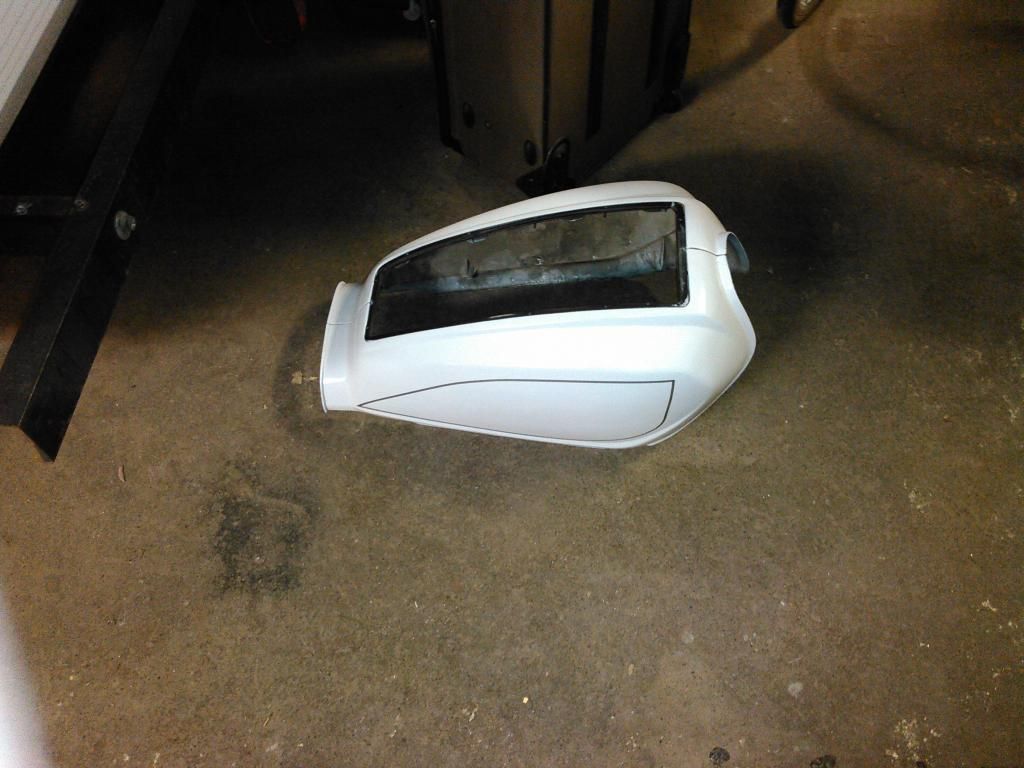
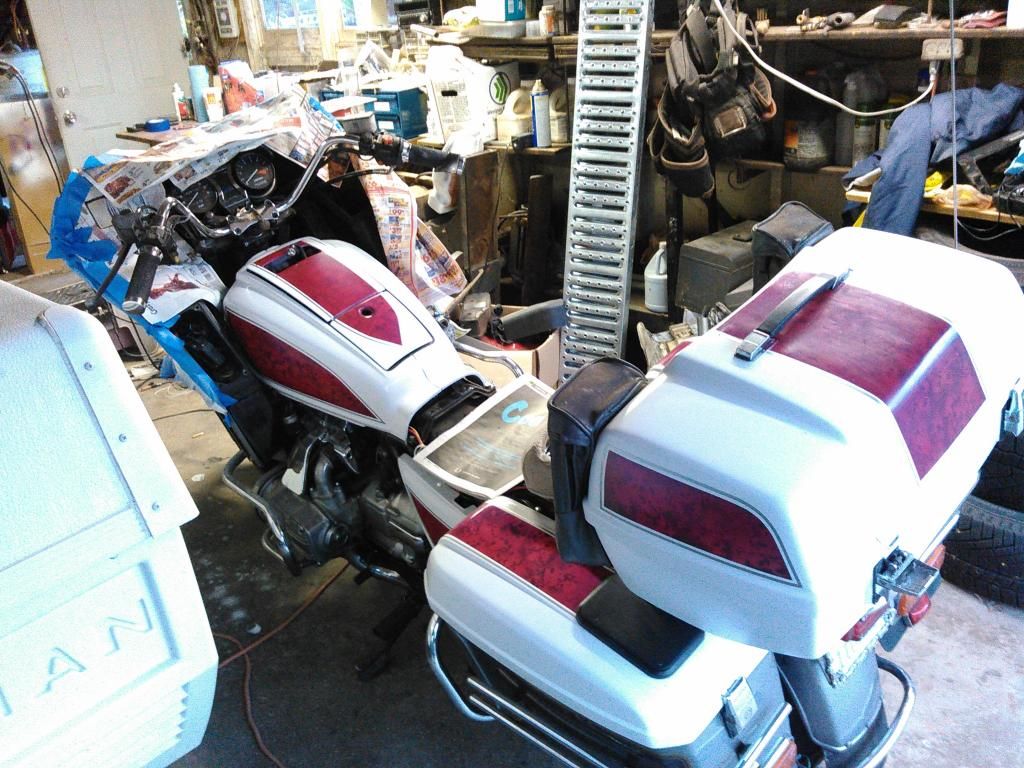
I started with the saddle bag covers, because they were in poor shape. 32years of throwing your leg over and scuffing it with your boots will put some pretty big gouges in them, and the one's on my bike were deep. I filled and sanded for about a week, in the evenings. I had to shape them, sand off the old pin stripes, and get them pretty much in shape for paint. I ended up doing several guide coats getting all the low and high spots sanded out. I did it all pretty much by hand and with a small palm sander. You just don't go with anything too aggressive when you are working with plastic.
I finally was satisfied with the paint. All white, of course. It was then time to put on two coats of clear.
You may ask, why did I clear coat before the air brush work? Well, the biggest reason, I didn't want the covers to sit for a week for the paint to completely cure before I started masking off stuff. The clear coat really helps flash the paint and keeps it from lifting when I remove the tape. No lifting, less sanding and touch up work.
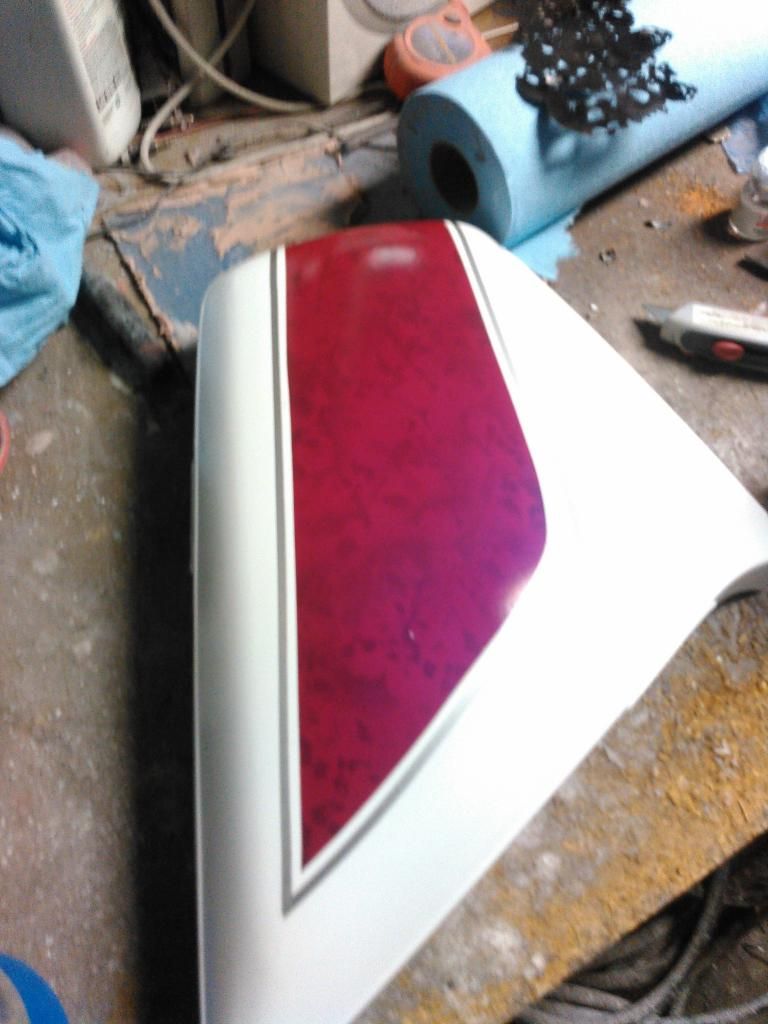
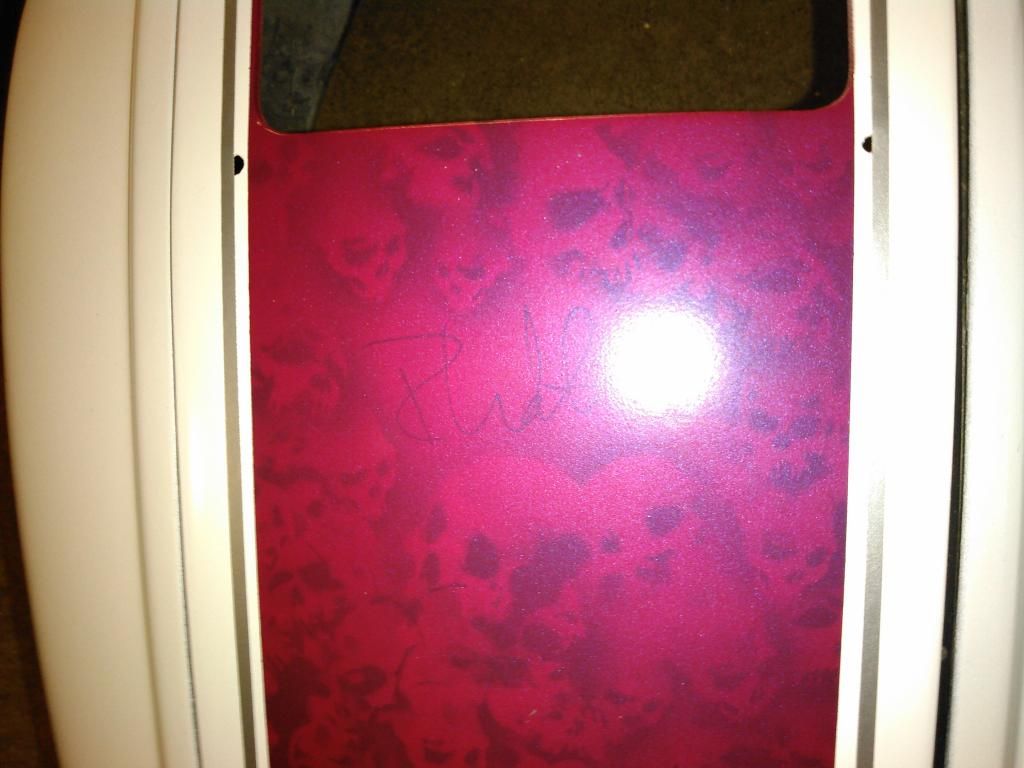
Next thing I did was experiment on an old scooter panel I had laying around. I painted it white, then airbrushed the skulls with my airbrush (again, lacquer paint in the air brush) and let it dry.
A quick note about thinners. DO NOT USE thinner for acrylics for lacquer. I ran out of thinner and grabbed the wrong stuff, and was cleaning out the air brush for about 2 hours. Buy and use the proper thinner for the paint you are using.... The paint literally turned to jelly, huge mess to clean up.
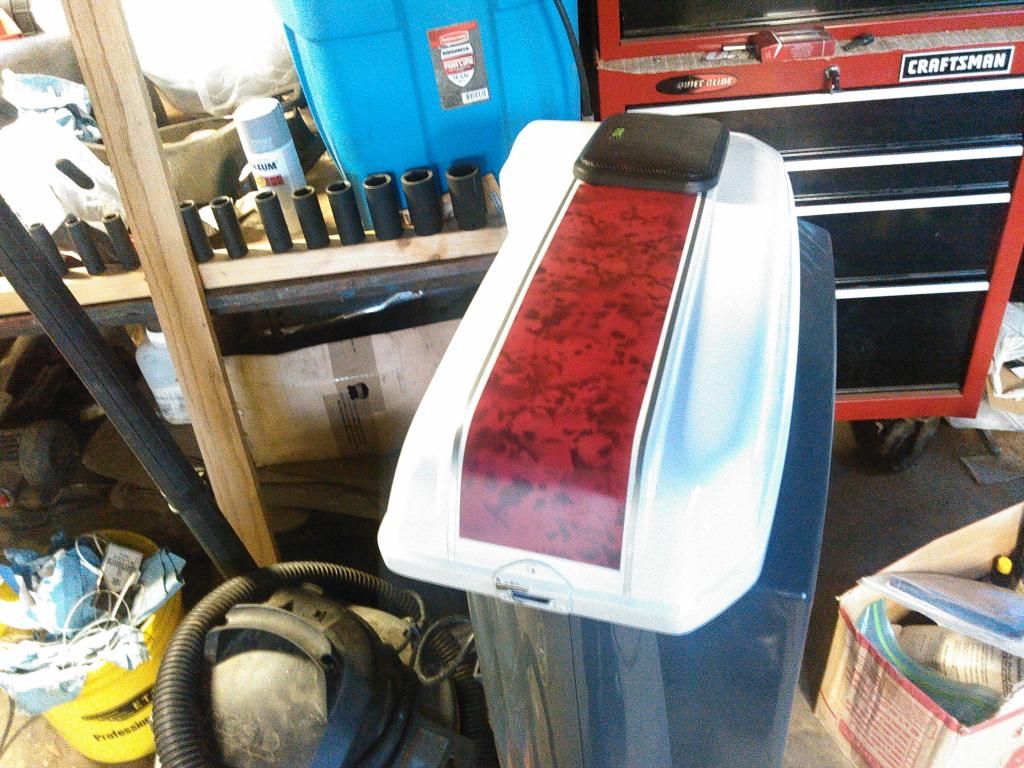
So off to the hobby store, I found some nice pearl candy red in a spray bomb.... and guess what... it was lacquer.... So, I bought a can of it as well as more thinner and black paint. Then I went and bought some automotive pinstripe tape, in silver.
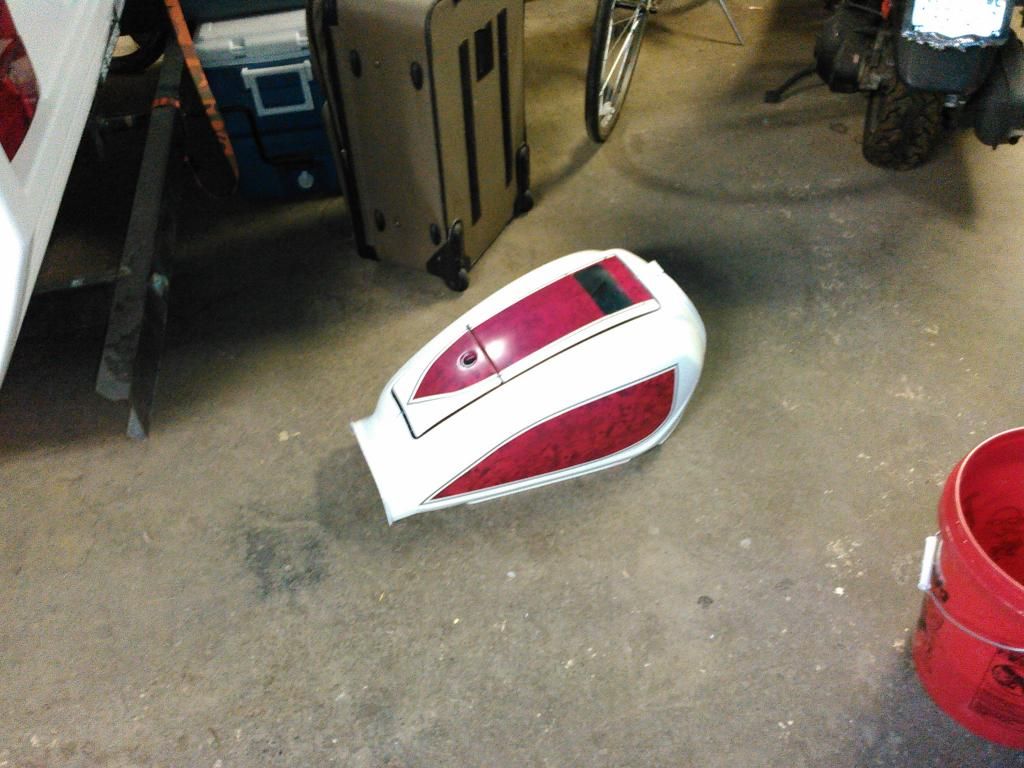
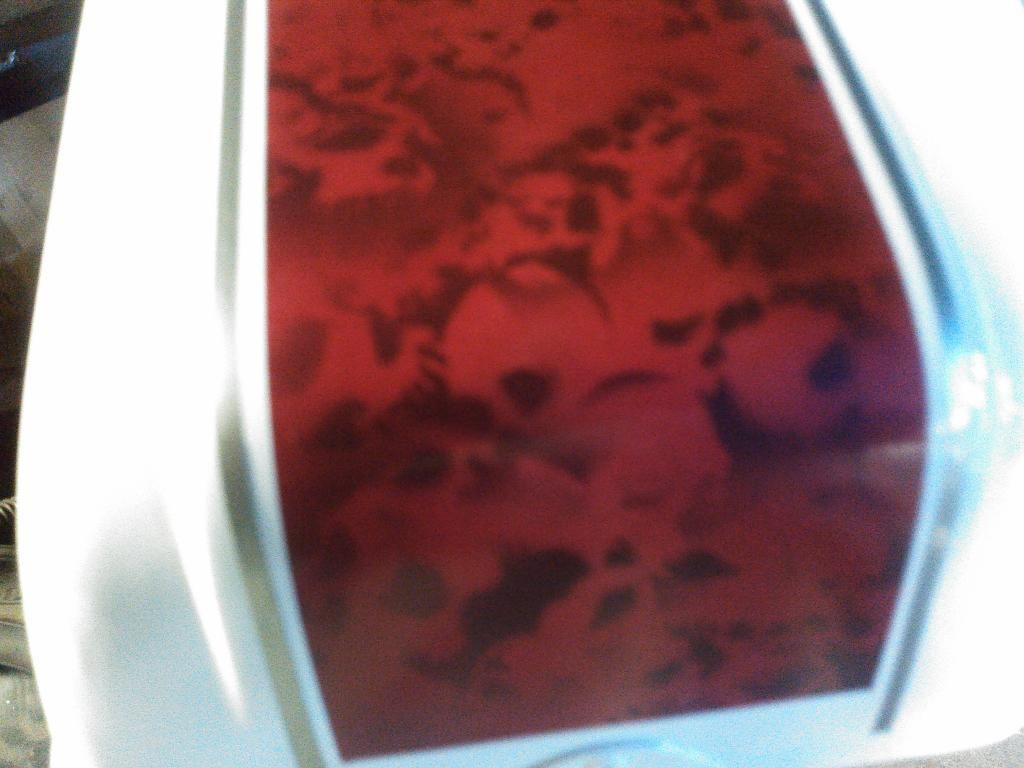
Back to my test panel. I then gave it a pass with the candy red, and it looked good... Very cool.... but would it be compatible with my clear coat? I let it cure for a few hours and hit it with the clear, and it looked amazing. No bubbling, hazing, etc.
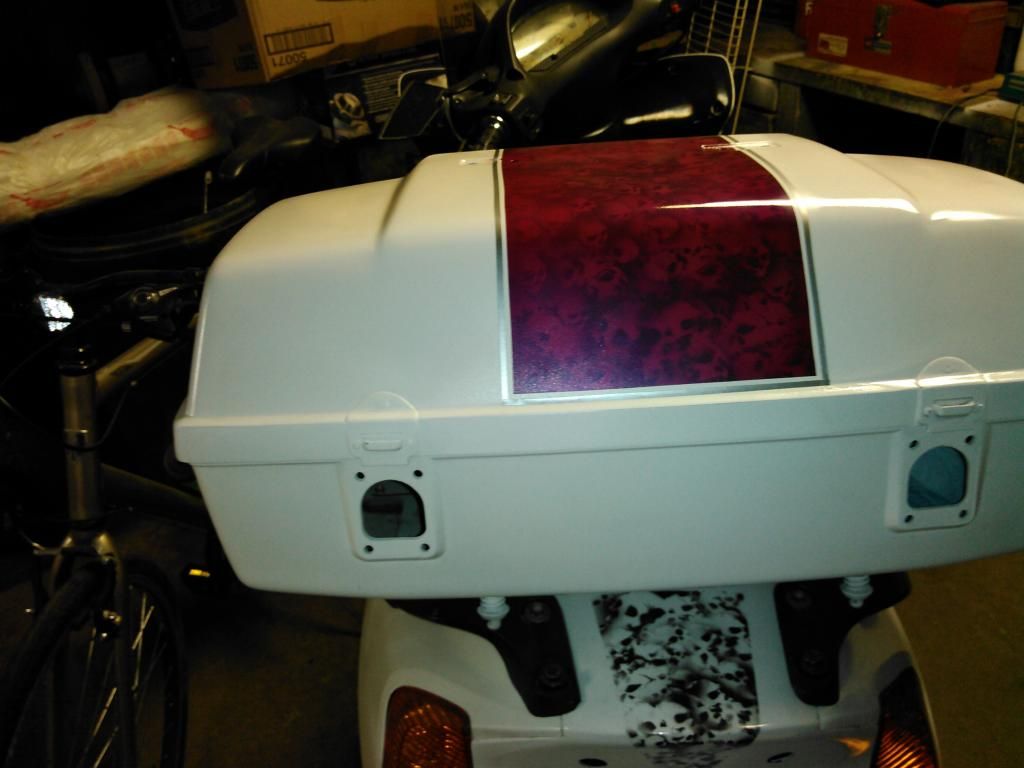
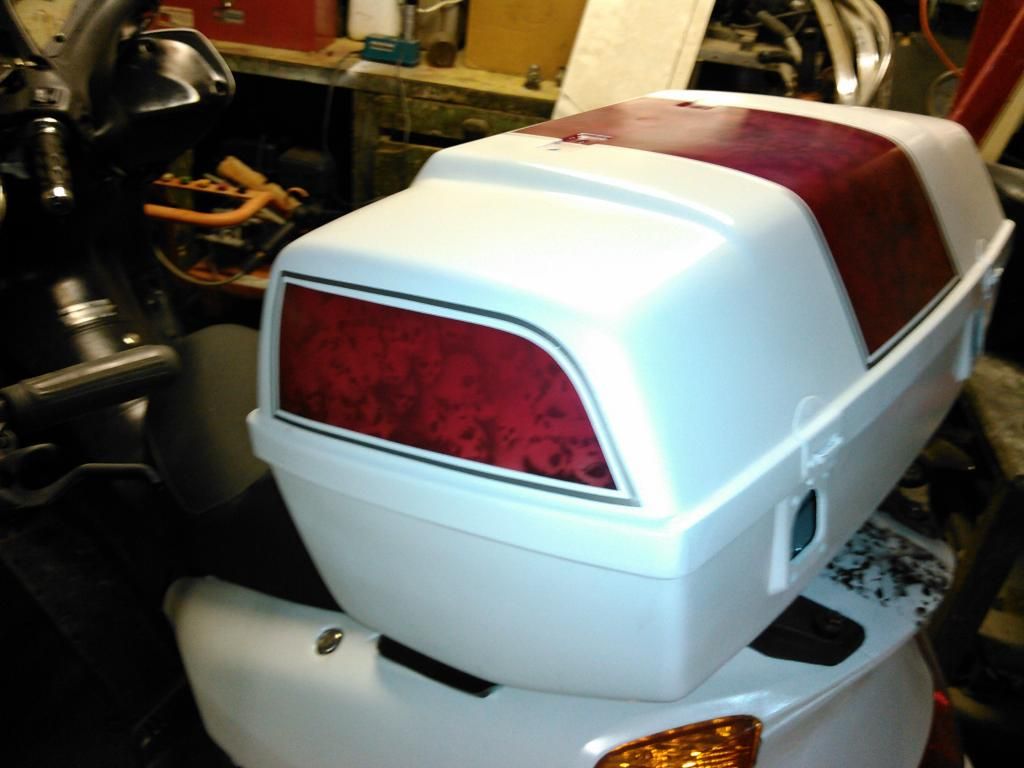
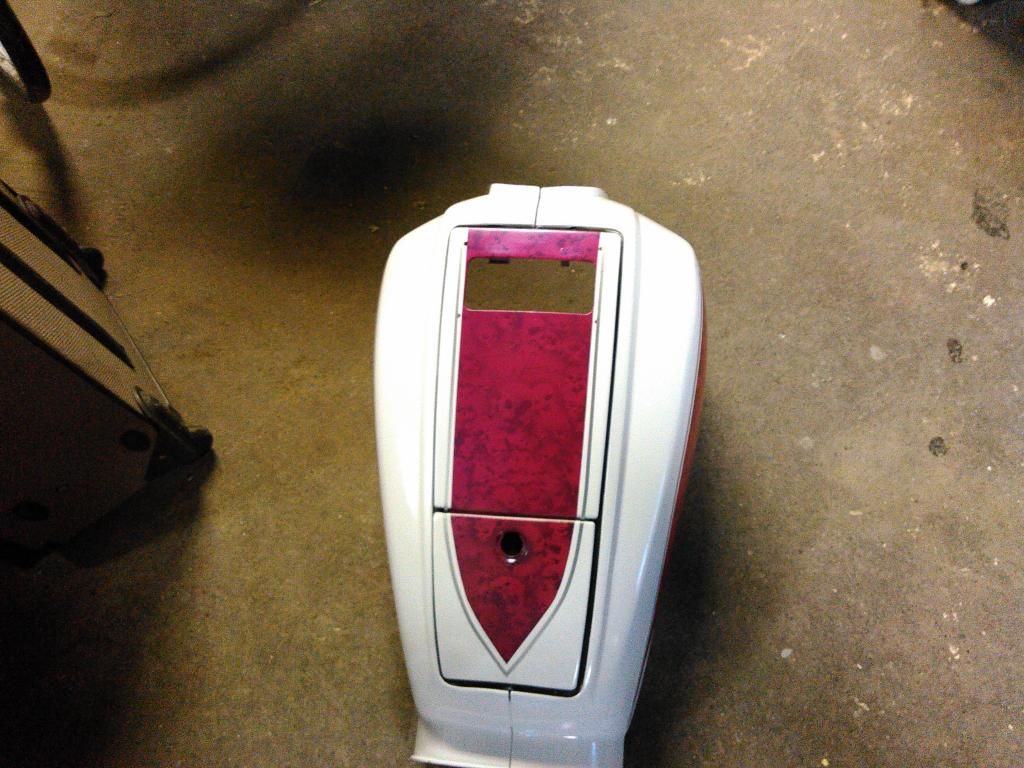
So now it was time to mask everything off with painter's tape and go for it. After I finished the airbrush work, I then laid down the pin stripes. Yes, pin stripe tape is a pain to work with, but it's worth it. I then let it dry for about 2 hours and hit with some more clear and the results, really do look awesome.


