|
|
Post by scooter on Dec 24, 2014 1:52:26 GMT -5
Scooter, I have to bow out on this. But I feel your pain. I've tried to research that carb and part, and I just find no definition on it. Every schematic shows it, but no one explains it's use..Hopefully, someone with that carb setup will jump in, or Alley will have some info on it.. Thanks. According to Alley, it is only for the enricher circuit. Since there was a vacuum on the line that goes toward the engine, I assume the water would have run from the radiator, not from the engine side so, as he says, until your radiator was warm, the water in that line would be cool. I would have thought bringing the water out of the head would have been more effective if heating the carb were the goal. The line going to the engine is going into the thermostat housing, bypassing the thermostat. It appears the coolant would have to flow past the temperature sensor, so the system could, theoretically, sense the temperature of the coolant without the thermostat open. I don't know how complex these systems are but maybe that would have let a circuit know when the water was warm, to then turn on the enricher valve to shut off the enrichment circuit? That would certainly make more sense than trying to heat the carb with cold water. Blue arrow, line going to thermostat housing.  I went back and looked at my carb. The temp sensor wire and the enrichment valve wires are crimped together in one harness. I think would indicate that they are sold as a set and work together as a system. |
|
|
|
Post by scooter on Dec 23, 2014 5:48:50 GMT -5
just guessing, but it looks like the carburetor water heater (unused) on lots of scooter carbs. On yours, are there any tubes or hoses connected to it? If it has been not connected, I wouldn't worry about it. More experienced minds will hopefully jump in here.. I was mistaken. It has one line going up front, and the other line goes to a unit next to the intake with wires coming out of it. When I pulled the hose off the side going to the unit on the engine, it had a vacuum on it, making the whoosh sound. It had been holding that vacuum for at least 8 hours. I wonder how it works/worked? I'll tag Alley, too, and see if he wants to explain it, or you can if you know how it works. alleyoop |
|
|
|
Post by scooter on Dec 23, 2014 3:01:54 GMT -5
two wire flasher or three ? John The flasher box has three wires. |
|
|
|
Post by scooter on Dec 23, 2014 2:41:21 GMT -5
How do I remove the fuel line from the tank without all the gas coming out? How do I know if the pump is bad? I get gas into my carb, but how do I check to make sure the gas leaves the carb and enters the engine? I want to fix this asap and make sure it isn't a problem anymore. When I put a new head gasket on my last scoot, I think I set the timing on the exhaust stroke or something. It turned over but wouldn't start. I put my finger over the spark plug hole and it was getting very little compression if any. I reset the timing and it fired right up. Pull the spark plug out and put the boot on it, and touch the end of it to the engine. Turn the motor over and you should see a spark. |
|
|
|
Post by scooter on Dec 22, 2014 18:04:46 GMT -5
What I've read in your initial post, and saw in the video, your right blinker appears to work correctly, except for the front lamp doesn't light. For that I would suspect the lamp itself or the lamp socket. Perhaps even a wire attached to the lamp socket. If that's what the problem is then one side of this system is working, and presumably, wired correctly. The other side of the system should be wired identical to the working side, but those wires will go into the plug in, probably, different holes and more than likely, right next to the working side. I never like to trust wiring diagrams that aren't specifically tailored for a specific machine. Generic diagrams are just that. Generic. Who knows how or why a manufacturer wired the way they did and to what. If at all possible you should keep the wiring the way it came on the bike. Access the wires on the back side of the lamp sockets, note their colors, follow them into whatever wiring harness they go into, find them again on the other side of the harness, then see what block they go into. The other side of the bike should be identical. Note any similarities or discrepancies and go from there. That's the monkey I would chase anyway. For what it's worth. Thank you. I got the right front blinker to work so now I have right side blinkers. There were two ground wires cut. There is also a white wire cut, that leads to the headlight, and a blue wire not connected. There is more but I can't describe it at this point. I am still trying to figure out the purpose of the two brown wires and two other wires, spliced into one wire each. Another thing I have noticed is that when I turn on the left blinker, the right indicator lights up steady and there is a buzzy sound. The wiring diagram I found online is for a honda reflex I think.  It says Reflex_yy250t_cf_moto. I think it was from the scooter doc board. I also see how this terminal box works. Any wire in one of the five sockets that is inline with another on the same row is connected, so one wire comes out of a harness to one socket, then out of another socket and to another harness or whatever. I assume there is a good reason for it but it sure is messy. I do not know if the burned area on the terminal block was caused by faulty wiring but it appears some of the wiring may have been done to bypass the small burnt area. |
|
|
|
Post by scooter on Dec 21, 2014 21:19:33 GMT -5
This is the 21st century, but we are relying on 20th - 15th century technology to keep our scooters safe. Up until this year, GPS tracking has been a bit too expensive for most to justify using on a cheap scooter. Not any longer! You can now find cheap GPS tracking devices for around $50, and prepaid SIM cards for as little as $20/year. That is really super, Jerry! Great find! |
|
|
|
Post by scooter on Dec 21, 2014 20:55:27 GMT -5
Just picked up an  Yamaha riva xc180. Cannot get the low jet out for the life of me. Any good methods of soaking and cleaning? Help would be much appreciated I would like to see a picture of it, to see what you can do with it, but in general lubrication and heat are two things you can try. Spray it with cleaner, then put on some PB Blaster, WD-40, or other penetrant. Let it sit for a few minutes, or even a day if it needs it. If it still won't come out, and there is nothing near the screw that would be damaged by heat, use a tiny torch to heat area right AROUND the screw. This will cause it to expand and possibly break the bond holding it to the carb. If that does not work then heat the screw as well. After it is warm, try to break it free. If it doesn't come out, put some more penetrant or some paraffin wax on it to let the wax get down into the threads. Let it cool. "Rinse and repeat." If all else fails, you're looking at extracting or drilling the screw out. A left-hand drill bit is often useful for small screws. As it goes into the screw, the removal of material tends to help the screw loosen a bit and, because you are turning left, the drill bit will spin the screw out. If that doesn't work then put an extractor in the hole you drilled and try that. If that doesn't work then carefully drill out the screw, with the same sized bit you would use to tap that size of threads with, and then pick out the threads left in the hole. After that, run a tap through the threads to clean them up if needed. There are also methods of welding a bolt onto the back of your screw, which simultaneously heat it. This CAN work but is often touchy on small screws, especially if they are brass. If the carb is cheap, then obviously you can avoid a lot of trouble by buying a new one, but you have little to lose in trying all of the above methods. |
|
|
|
Post by scooter on Dec 20, 2014 19:06:29 GMT -5
You can say THAT again... LOL! There's nothing like a Neanderthal full of beer and crystal meth, in a truck that hasn't seen current tags since the driver last saw his parole officer, to bring a little adventure to your day. If he's out of rolling-papers, and in a hurry to get home to the trailer-park to beat the wife and kick the dog, all the worse... LOL!
Trust me on THAT one. I've lived in a Texas trailer-park for 28 years. Yup. Ruff place. HAHAHA! Leo, you crack me up!  |
|
|
|
Post by scooter on Dec 20, 2014 18:55:39 GMT -5
Wow. I wonder if they have helmets with built in filters over there. Thanks for the information. In some areas they actually have vending machines where you can buy a few breaths of clean air or oxygen if you start getting short of breath from the poor air quality. Ha! Check this out!  Works alone or with oxygen! Hook up the sulfur hexafluoride and Darth Vader has nothing on you! |
|
|
|
Post by scooter on Dec 20, 2014 7:04:33 GMT -5
Well, since you included me, I'll throw in my two cent questions. Has this problem always been a problem since you've owned the bike or did it just now start happening? If it just started happening then you can rule out the repaired and/or missing and burnt wires. If it's always been like that then that wiring may be part of the problem. And, have you confirmed that the turn signal lamps and sockets are good? When my cars' turn signal lamp burns out the flasher doesn't flash the lights and maybe scooter systems work similarly? Since both sides of the bike's turn signals should be wired the same, then I would check both right and left wiring from the lamps backwards and see if they are wired exactly the same. You might find that whomever messed with that wiring at one time caused this problem? I just got the bike. I think the previous rider tinkered around with the electric. |
|
|
|
Post by scooter on Dec 19, 2014 2:07:12 GMT -5
|
|
|
|
Post by scooter on Dec 18, 2014 5:18:37 GMT -5
I have a 2008 Qlink 250 Helix clone. The turn signals are not working properly. I don't want to get a ticket or get killed so I need to fix it. Can you guys help me diagnose it? When the right turn signal is activated, the dash indicator blinks rapidly, the rear signal flashes, and the front signal does not work. When the left turn signal is activated nothing happens, although it did intermittently make the rear signal blink dimly with a buzzing sound. No front signal, no dash signal. The blinker also makes the dash lights blink. The hazard light appears to be unplugged and I didn't see a place for it to plug into, but I'm in a hurry right now. There is a plug on the right side in the glove box with a jumper wire stuck in it, as seen below. This appears to be the blinker relay. (Yes, it is and it seems to be working.) 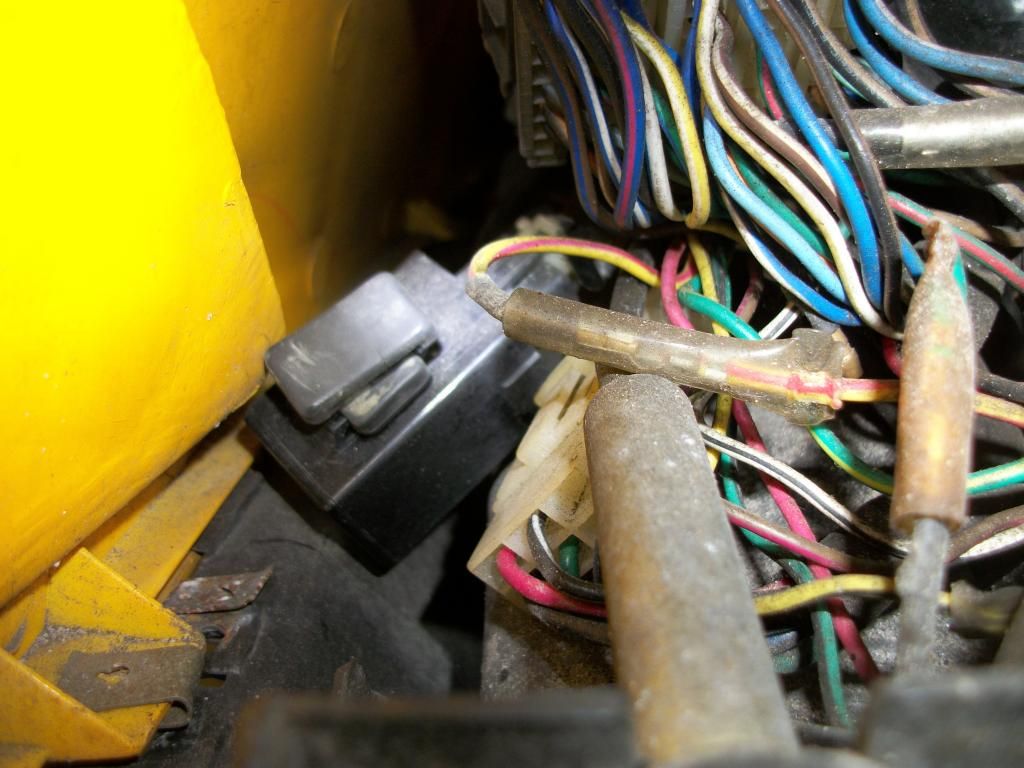 This is a plug on the right side of the glove box with a jumper wire on it. I have no idea why.(EDIT: Dmartin says: Post # 1, second picture is your alarm plug. It's a 9-pin plug with with the jumper wire completing your ignition circuit. It look like it's supposed to. Read more: itistheride.boards.net/posts/recent#ixzz3ML4hllgb ) 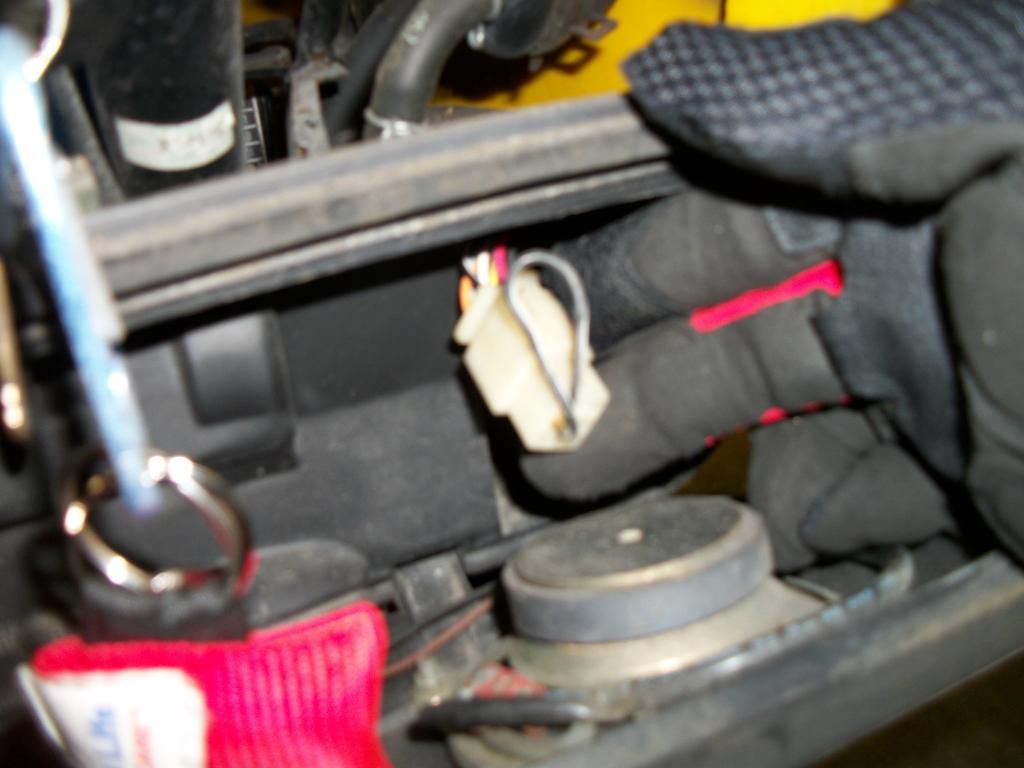 This looks like the hazard light wire 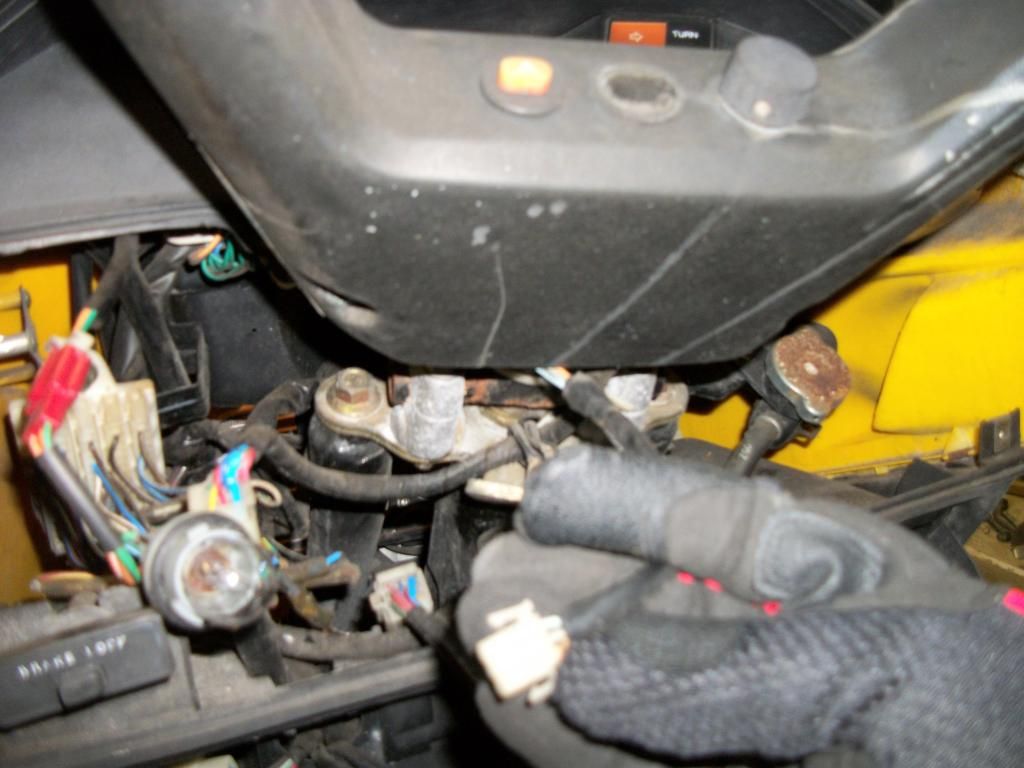 If the video uploads properly to youtube it will be here: (EDIT/UPDATE) I went to the scooterdoc boards and found this nice diagram, which is easy to read and makes sense.  So I went back "in" to take another stab at fixing the signals. Unfortunately I ran into some issues I don't know how to deal with yet. First is that these four wires in the center of the picture appear to have been repaired. The connectors don't look factory. That is two greens into one wire and two brown? into another wire. I am guessing brake switch wires? I don't know. 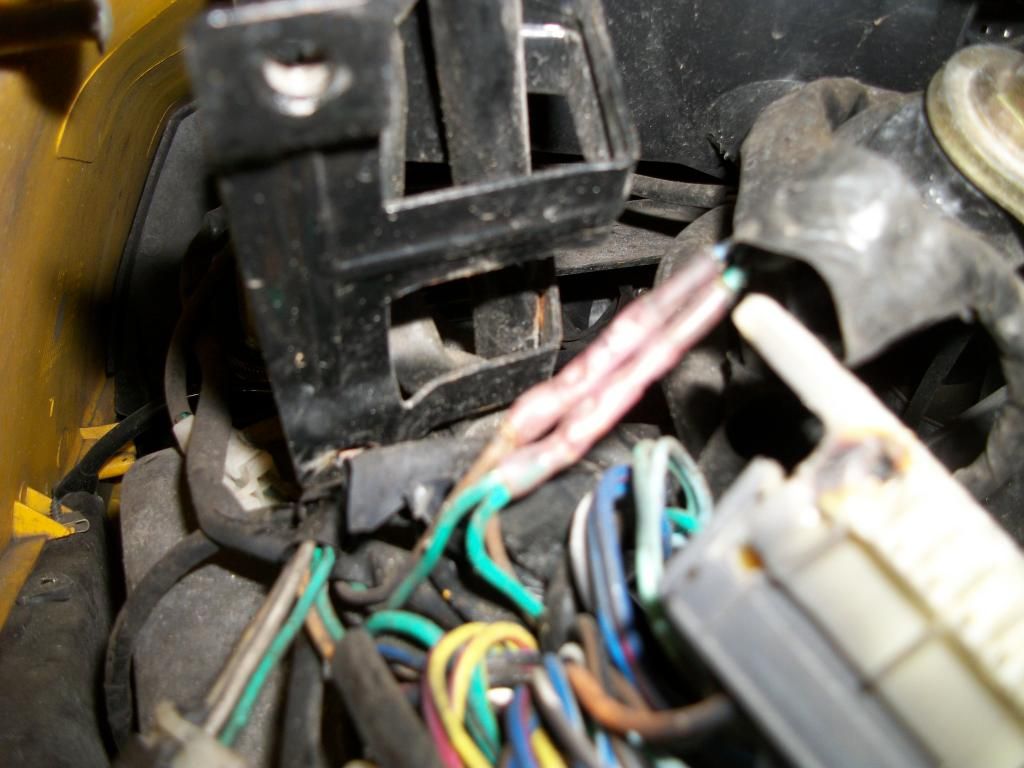 The next thing is that the right front signal has three wires running to it and the left only has two. I assume that is ground, running, and turn signal. (By the way, NONE of the running lights, front or back, appear to work. The rear brake light does work though and also stays on as a running light.) 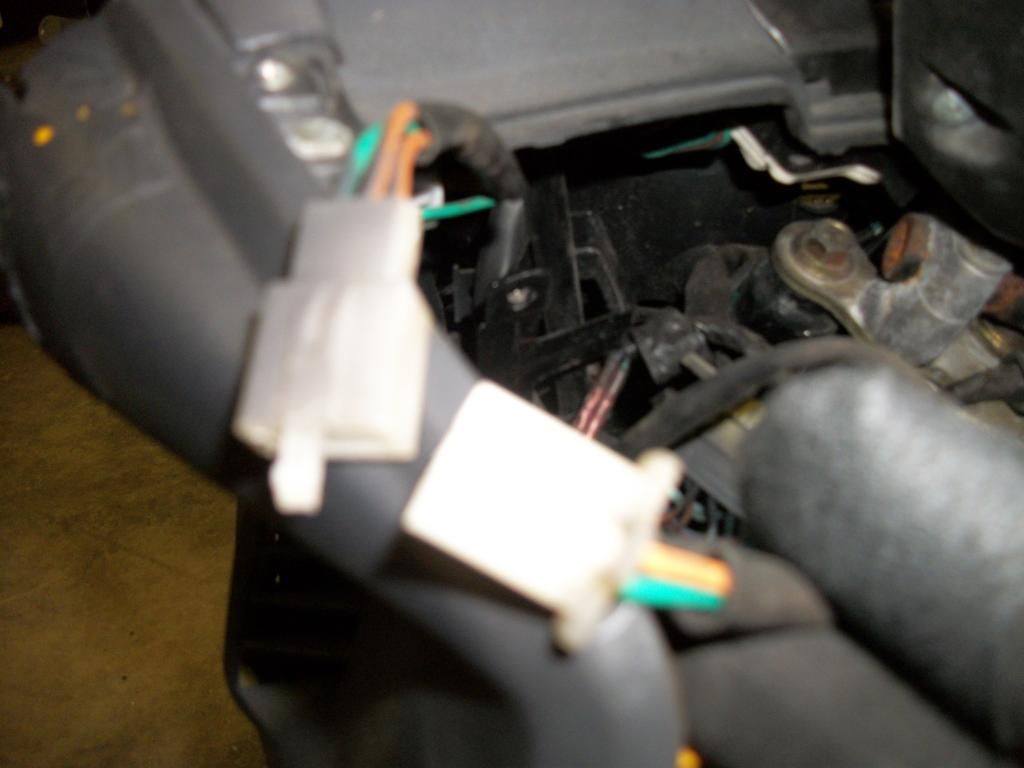 Next, the big block of wires has a green wire cut off of it and has been burned. The picture is blurry, but at the top right on the block is a cut off green wire. 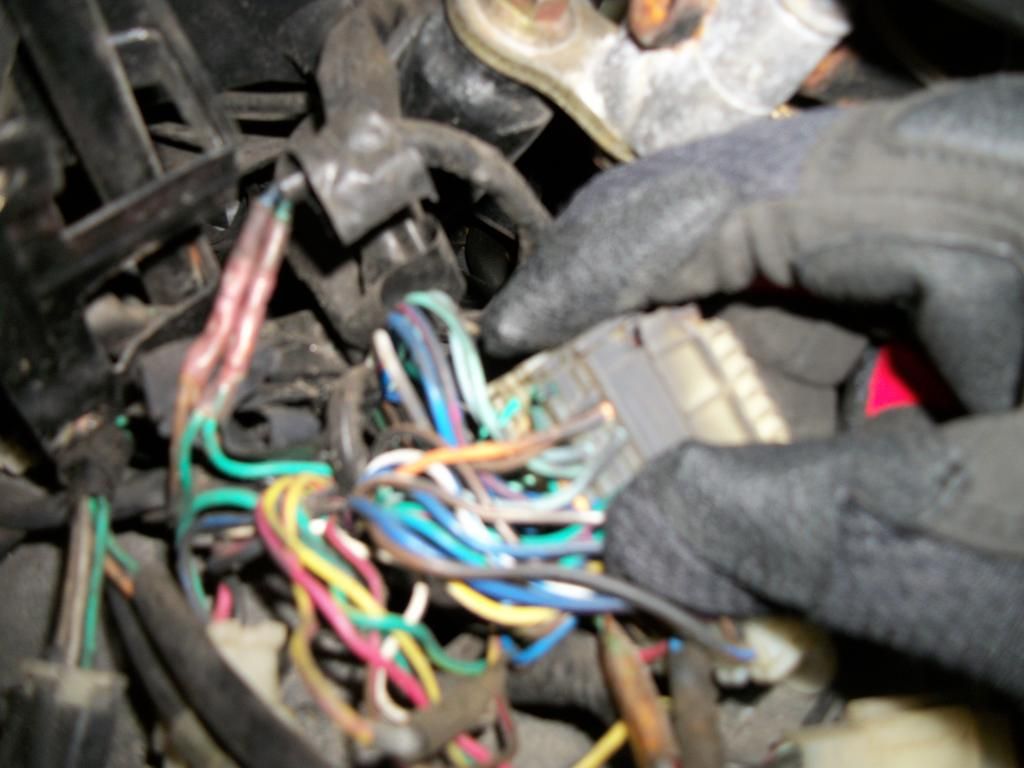 and here is the burned part. I assume there are wires missing from there, that overheated. Maybe those ones that are crimped together in the photo above, also seen here just to the left of the block. 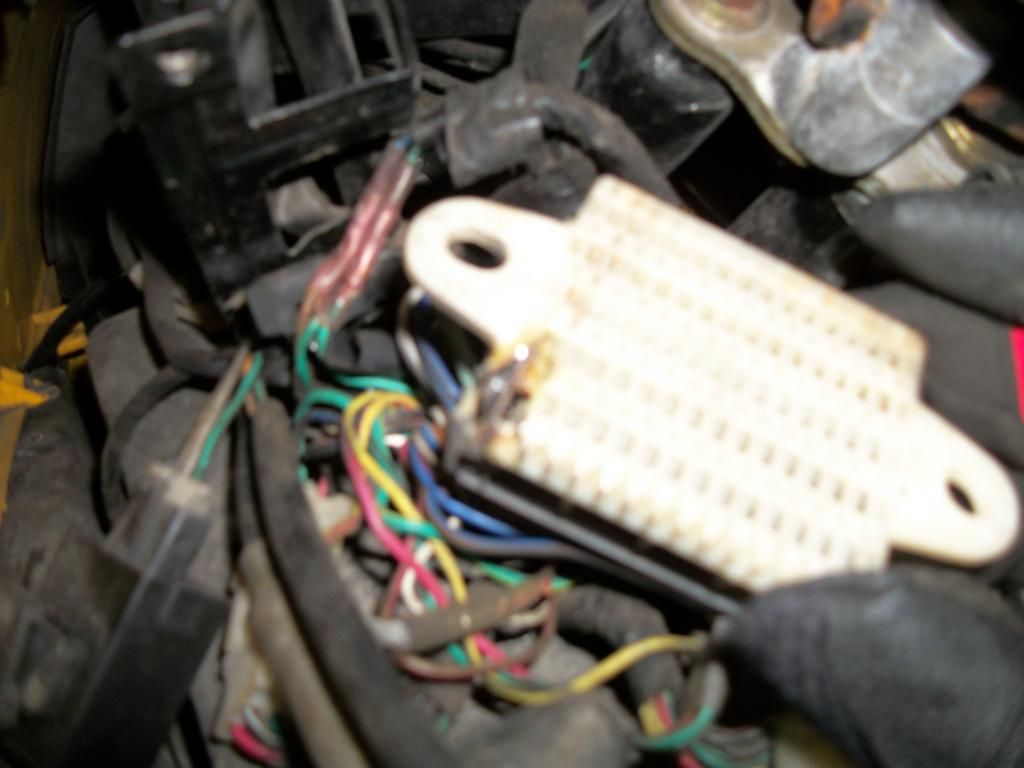 Then there is this unconnected blue and white wire. I used a digital meter on it and it appears to energize to ground when the right blinker is on. 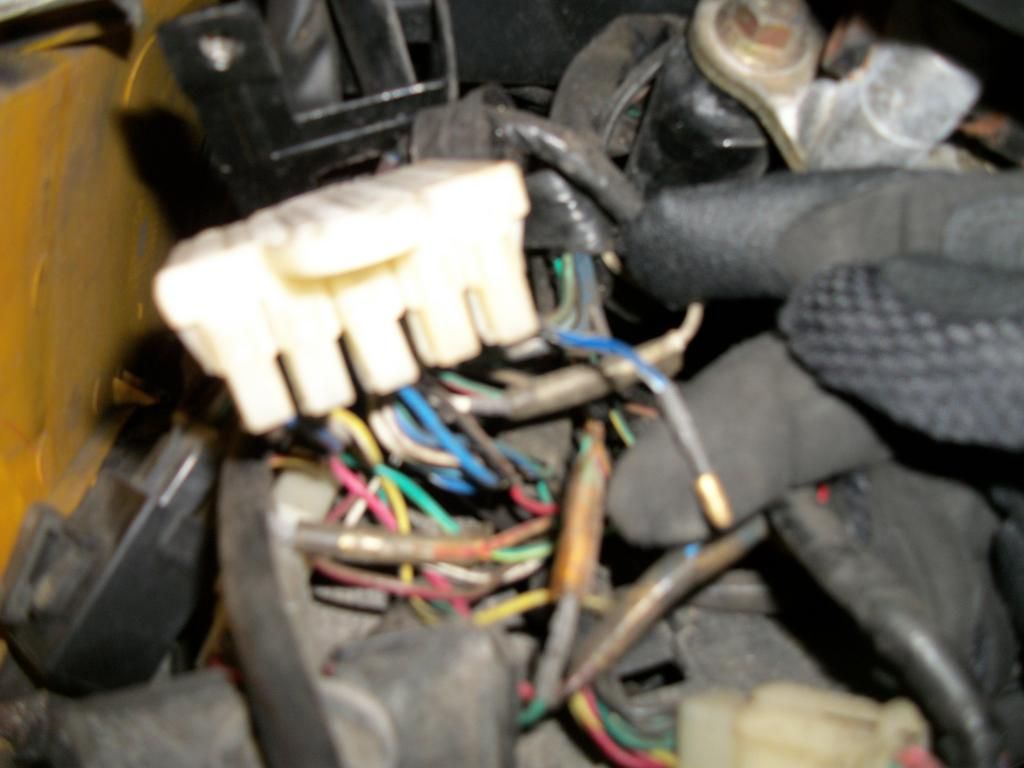 That's all I have for now. I don't yet know what the big block of wires is for or how it works, and I have a hard time understanding wiring, especially in a big mess of wires like this, and with some apparent damage and possibly amateur rigging. |
|
|
|
Post by scooter on Dec 16, 2014 17:19:55 GMT -5
just guessing, but it looks like the carburetor water heater (unused) on lots of scooter carbs. On yours, are there any tubes or hoses connected to it? If it has been not connected, I wouldn't worry about it. More experienced minds will hopefully jump in here.. Thank you. I am not able to look at it at the moment but I think one line is hooked to something that goes to the exhaust and the other line goes somewhere else. |
|
|
|
Post by scooter on Dec 16, 2014 5:51:44 GMT -5
I was cleaning the carb on a cn250 and this thing called a heater comp, item 13 on this diagram, will not allow air to flow through it. I tried blowing it out, and also tried using a piece of wire, but I could not get air to flow through it. Does anyone have any information or advice on this doohickey? 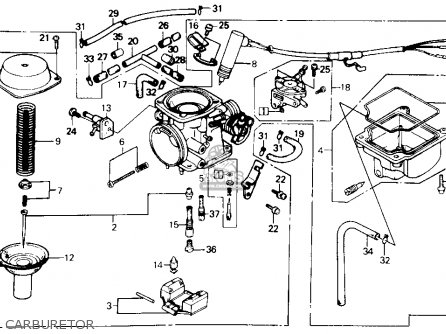 |
|
|
|
Post by scooter on Dec 15, 2014 23:39:22 GMT -5
Nope, no hard time. Usually when people hear my scoot they wonder " What the heck is that and what did you do to it!?!" Or they say "my gawd I didn't know a scoot could sound like that!" This post could be more effective if audio visuals are included  |
|

