|
|
Post by JerryScript on Jan 21, 2015 21:13:32 GMT -5
Now that I have my new beautiful blue metallic flake scooter, time to paint my old safety yellow Bilt helmet to match, or get as close as I can. Here's how it looks brand new, mine had a few scratches: 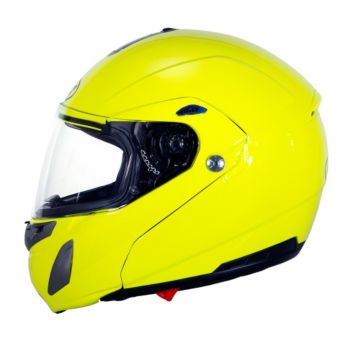 I used 200 grit sandpaper to rough up the paint job till there was no more shine. I then masked everything off with blue painter's tape and paper over the openings. Next, I put a good thick coat of scratch filling primer on it. This primer says it can be sanded after 1 hour, I'm waiting overnight for safety, and for the warmer day time temps. Tomorrow morning I'll wet sand it with 400 and 800 grit, clean her up, then apply the first coat of metalic blue (not trying the flake, I understand it's harder to get right). After I get a couple of coats dry, I'll fog it very lightly from several feet with black to give it a bit of the multidimensional look. Here she is coated in primer: 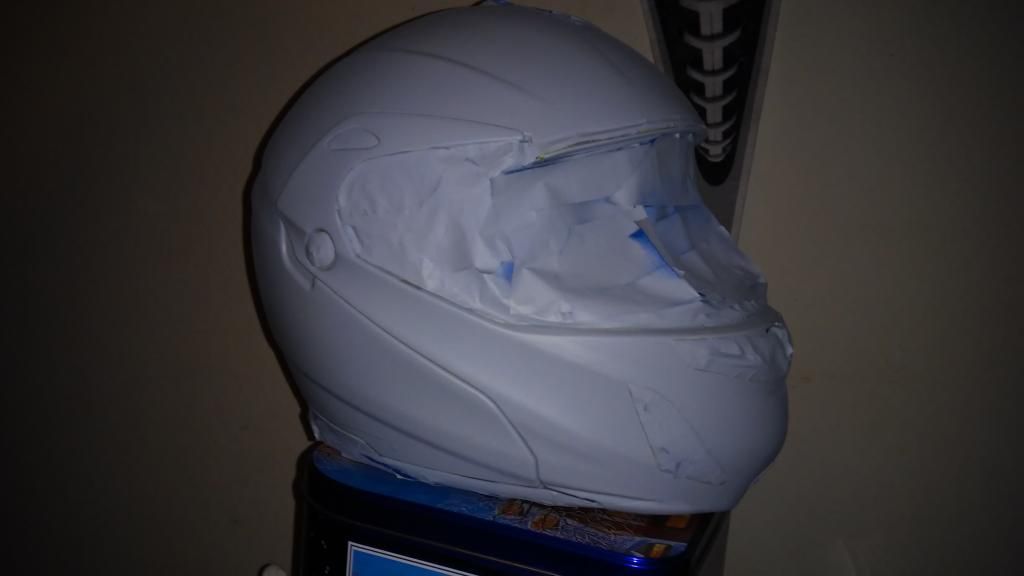 Wish me luck, this is my first time trying to paint something like this! |
|
|
|
Post by ramblinman on Jan 22, 2015 6:20:47 GMT -5
good luck, however it ends up, it's sure to look better than my sad looking helmet. i really should buy a new one but i'm not certain how much longer i will be on two wheels.
|
|
|
|
Post by JerryScript on Jan 22, 2015 21:09:39 GMT -5
Sanded the primer down, used 400-800 grit wet sandpaper. Sanded through a tiny bit on a couple of the ridges, but there should be enough primer there to hold the paint. Cleaned it up after sanding and started to apply the metalic blue base coat. Let it dry for half an hour between coats, temps are pretty low for painting now so longer is better. Here it is after the fourth coat: 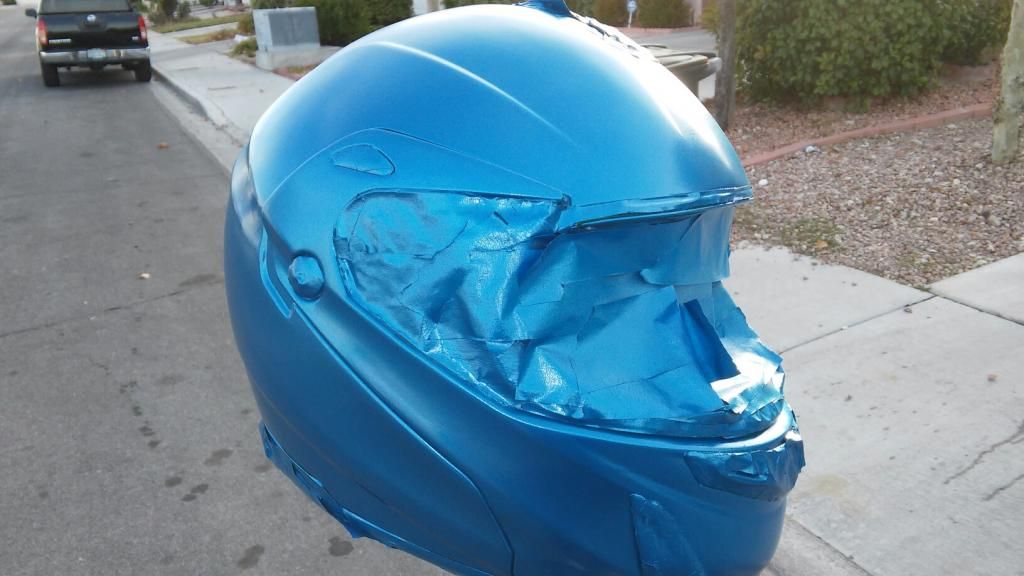 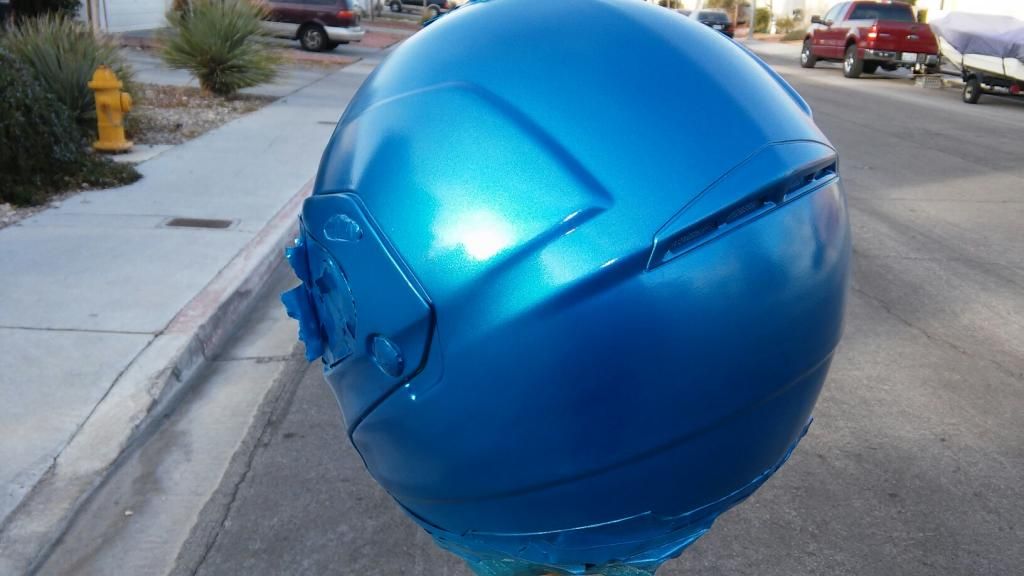 After the fourth coat, I took some metalic black and fogged it over. Gave it a few minutes to set, then fogged it again with the metallic black. After that set a few minutes, I fogged it with the metallic blue. Here it is after the fogging: 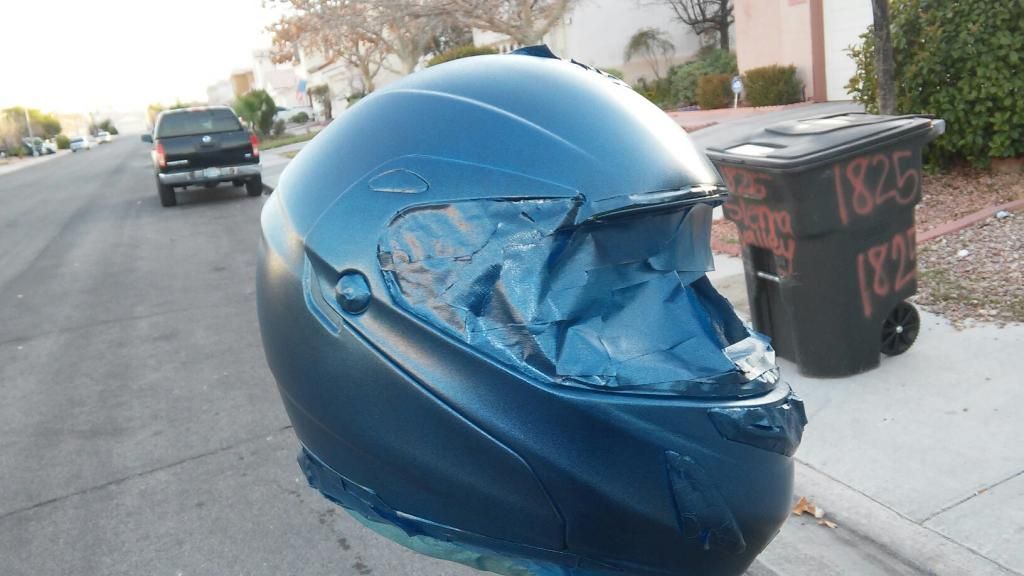 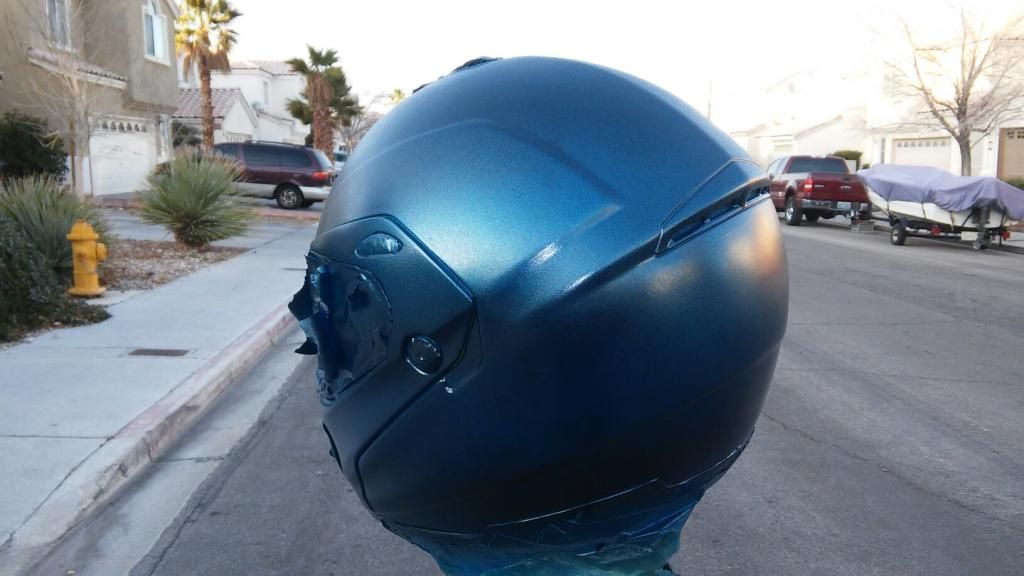 Ended up with a decent dimensional effect, but without flakes in a clear coat, I'll never match the bike perfect. Tomorrow I'll clear coat and polish it, and then be done. Took three days with the extra drying time I set aside to compensate for low temps, and saved me well over a hundred bucks by not needing to purchase a matching helmet for my ride. |
|
|
|
Post by scooter on Jan 22, 2015 22:06:46 GMT -5
  . Looking good, Jerry!! |
|
|
|
Post by JerryScript on Jan 23, 2015 16:00:53 GMT -5
Added 6 very light coats of clear lacquer this morning. Temps were a bit cold, so I got more fisheye than I expected. Got a lot of wet sanding to look forward to tomorrow before polishing. Here's a pic of the helmet with the scooter, it's a tad lighter, but I'm pretty happy with it: 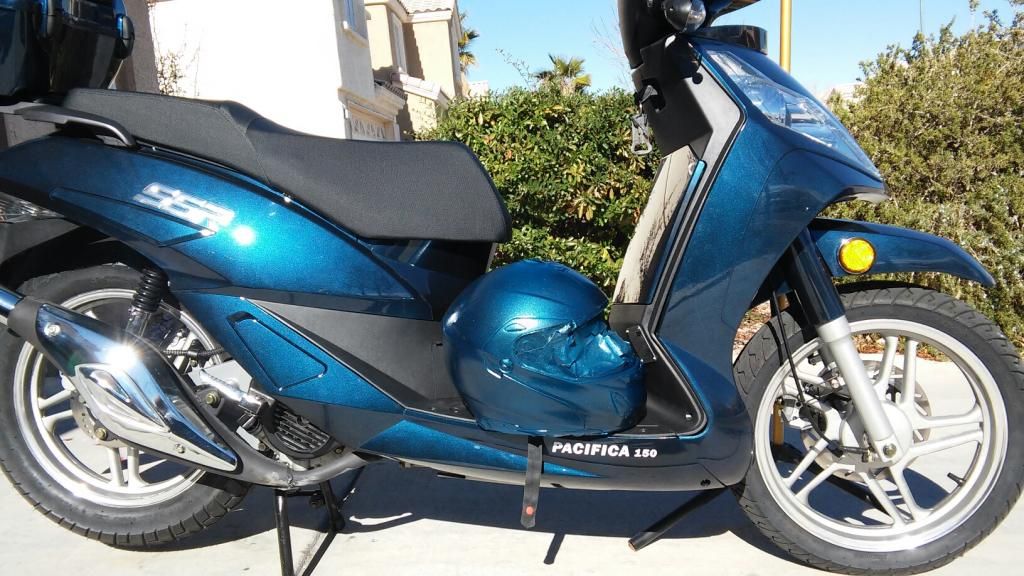 I would try wet sanding and polishing tonite, but with the low temps, I think it's best to let it cure overnight first. |
|
|
|
Post by scooter on Jan 23, 2015 16:33:56 GMT -5
Added 6 very light coats of clear lacquer this morning. Temps were a bit cold, so I got more fisheye than I expected. Got a lot of wet sanding to look forward to tomorrow before polishing. Here's a pic of the helmet with the scooter, it's a tad lighter, but I'm pretty happy with it:  I would try wet sanding and polishing tonite, but with the low temps, I think it's best to let it cure overnight first. Nice work, Jerry! Good match! What type of paints did you use? |
|
|
|
Post by JerryScript on Jan 23, 2015 17:48:24 GMT -5
Thanks! Color is pretty close, the camera doesn't make it obvious, but it is at least a shade lighter. If I did it over, I would have used a black primer, and perhaps a darker shade of blue, but I was limited to what Pep Boys had in stock. I used Dupli-Color for the primer and two paints, and I had an old can of cheap lacquer clear coat I had used on a cabinet refinish. The temps gave the clear coat a lot of fisheye, so I have a lot of wet sanding and polishing ahead of me.
|
|
|
|
Post by SylvreKat on Jan 24, 2015 8:11:30 GMT -5
It looks really nice, Jerry. You've done a good job on it. Once you start going around with it, you might get offers to paint other folks' helmets!
However, I just have never understood the need for gear and bike to match. I've seen CL ads where someone is selling all their gear, often almost unused, because they got a new bike and it doesn't match. So? I never wore greenish stuff to match my old Taurus, and I'm not getting new silver/grey coats to match the hatchwagon. And as you can tell from my avatar, my pink jacket doesn't match my orangey-red scoot. Nor the silver helmet. Next helmet I'll look for a modular in neon.
I'm not ragging on you, Jerry. I just want to understand why folks feel the need to match their ride.
>'Kat
|
|
|
|
Post by JerryScript on Jan 24, 2015 13:21:00 GMT -5
It looks really nice, Jerry. You've done a good job on it. Once you start going around with it, you might get offers to paint other folks' helmets! However, I just have never understood the need for gear and bike to match. I've seen CL ads where someone is selling all their gear, often almost unused, because they got a new bike and it doesn't match. So? I never wore greenish stuff to match my old Taurus, and I'm not getting new silver/grey coats to match the hatchwagon. And as you can tell from my avatar, my pink jacket doesn't match my orangey-red scoot. Nor the silver helmet. Next helmet I'll look for a modular in neon. I'm not ragging on you, Jerry. I just want to understand why folks feel the need to match their ride. >'Kat Thanks! I now understand why it's so expensive to have a helmet painted professionally, the time alone makes it labor expensive, and to get a truly professional look, the right equipment helps alot! Actually, I would think a silver helmet would go together with a red scooter nicely. I'm sure your style looks just fine! I just couldn't take the safety yellow anymore. It's a large helmet, and with the safety yellow, I got more than one comment about looking like Dark Helmet from the movie Space Balls. I would have been happy with many other colors, and the safety yellow was an ok match to the yellow of my 50cc. But you have to admit, a big old safety yellow helmet on a very nicely painted metallic flake scooter just doesn't look right, looks like a dollup of custard squeezing out the top of a blueberry eclair!  |
|
|
|
Post by JerryScript on Jan 24, 2015 19:11:59 GMT -5
Finishing up today. Started out wet sanding with 2000 grit sandpaper wrapped around a sponge. For anyone trying this instead of just being happy with the clear coat, what you are attempting to do is scruff up your nice shiny surface. You use 2000 grit because you don't want to see the scratch marks. The uneven surface will show you where you need to sand more, anything that has shiny specks means there are small dips that you haven't sanded down to, so keep sanding in that area till it's foggy all over (counter-intuitive I know, scruffing up to get a shine). Here's the progression from orange peel and fisheye to mostly smooth: First wet-sanding, then clean off and look for shiny spots and specks: 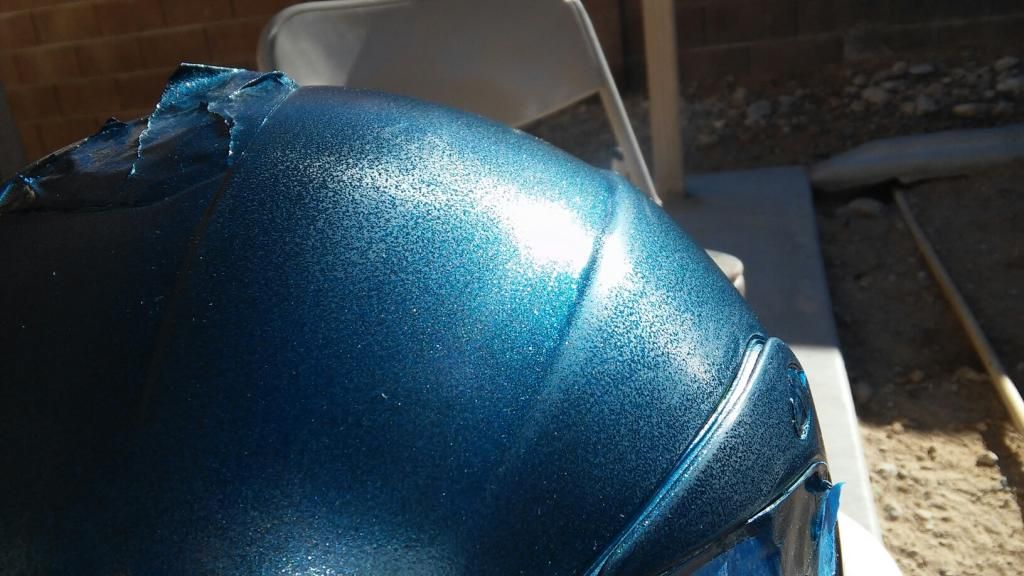 Getting closer: 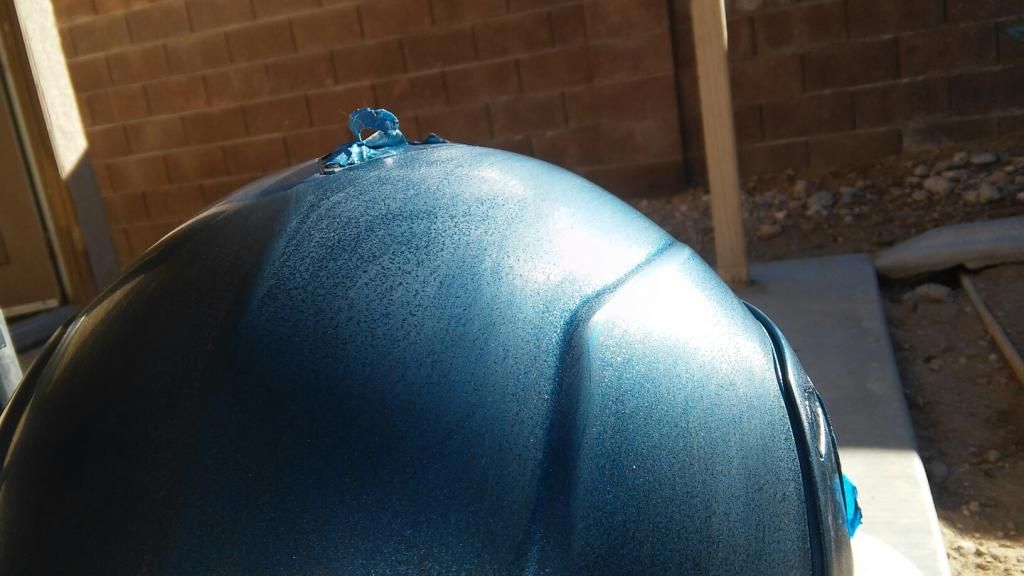 Almost there: 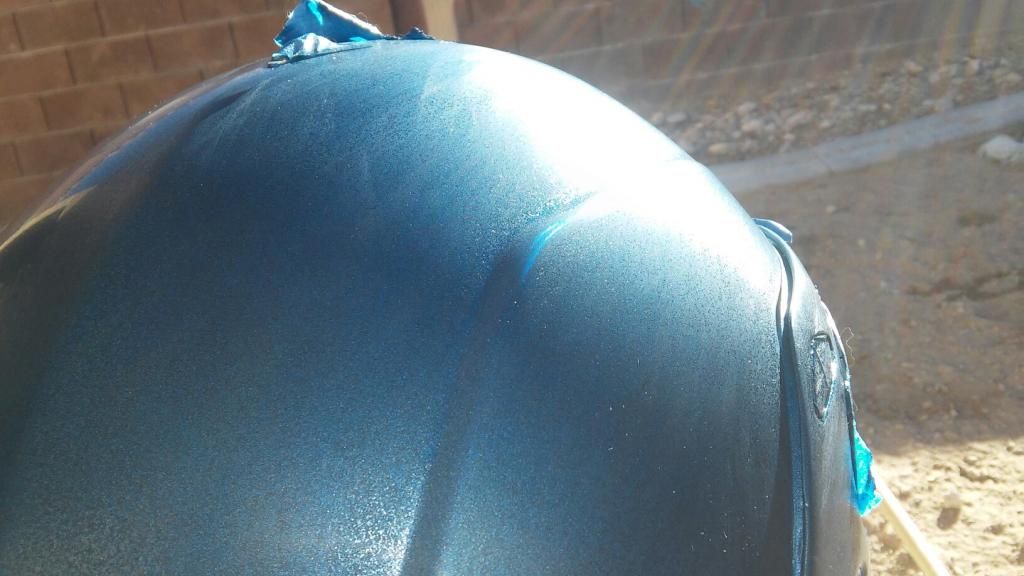 Next, I used Turtle Wax medium to fine polishing compound. Using a wet cloth, applying the polish generously, using a lot of elbow grease to really work it in, then buffing off with a soft dry cloth. After about a half hour, I'm starting to get a nice shine: 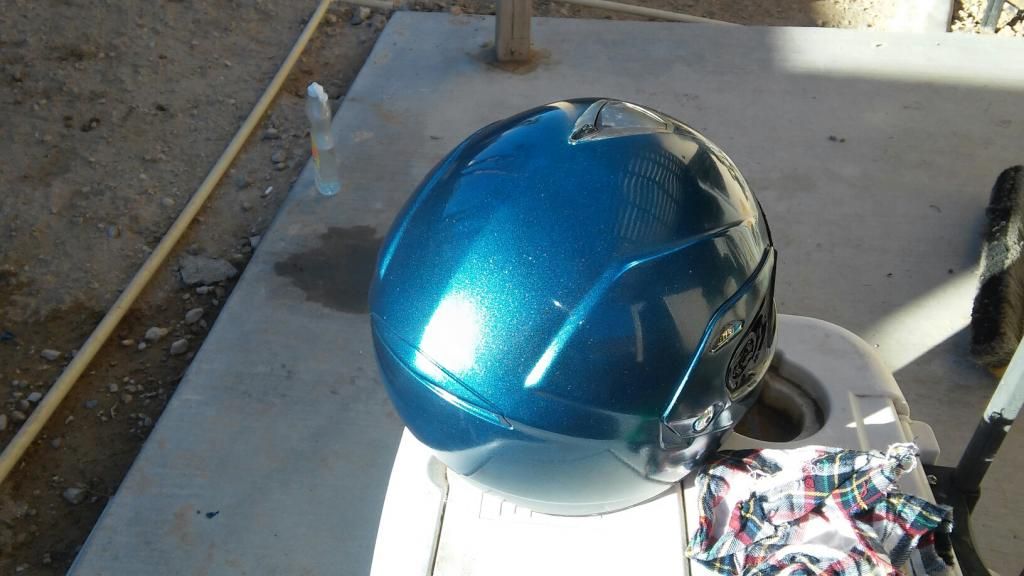 I don't have a buffer pad, if I did I could use even finer polishing compound to really bring out the shine, but I'm happy with what I have now. Just need to touch up some spots where the taping tore the paint and/or overlapped an area, thinking I may just use fingernail polish in some of those spots. Here it is all shined up next to the scooter: 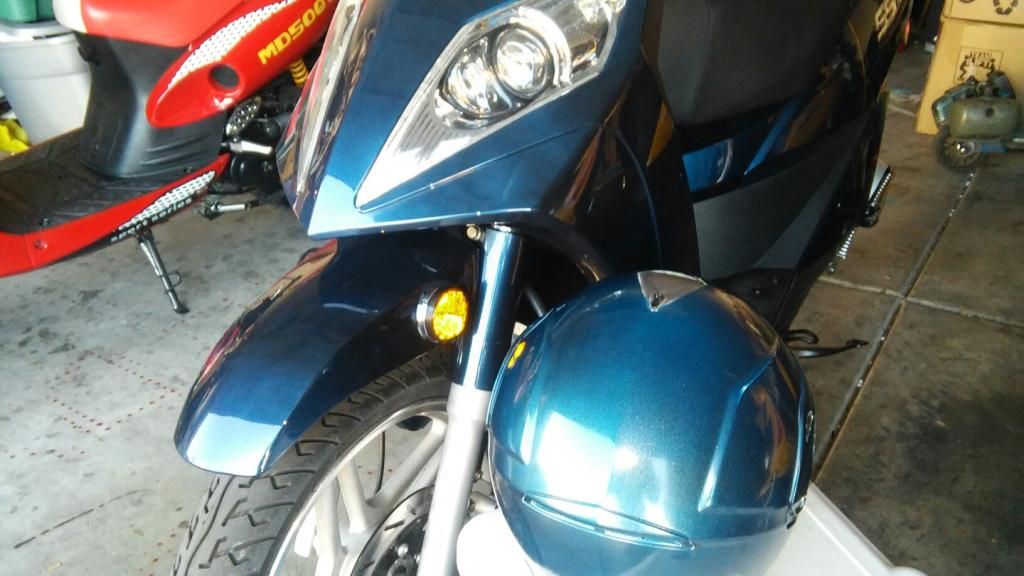 Here is a short video that show how close I was able to match the metallic look of the scooter's paint job: Final thoughts on this project: I saved around $200 for a professional paint job or a new helmet. I spent about 6 hours total working on it, 2 hours painting (not including waiting times for drying), and 4 hours sanding and prepping. Due to drying times, I was without this helmet for 3 full days, I do have an old black spare I've been using, but keep this in mind if you want to do something similar. Take your time, more light coats will always turn out better than fewer heavy coats. Watch online videos showing you how to do the various steps, and you will be surprised how nice your self painted helmet can look!  |
|
|
|
Post by BadCattitude on Jan 25, 2015 18:21:48 GMT -5
You could always get one like this...  |
|
